A CCTV system is only useful if it is recording footage when you need it most. Many homeowners and businesses assume their cameras are working fine because the live view appears normal. However, a CCTV camera may display live footage while failing to record due to storage issues, DVR/NVR problems, incorrect settings, or motion detection errors.
If you have recently installed a cctv camera in jaipur, regularly checking your recording system is essential to ensure your property remains protected. In this guide, we’ll explain how to verify that your CCTV system is recording properly through simple step-by-step checks.
Why Regular CCTV Recording Checks Are Important
A CCTV system that is not recording can leave you without evidence during theft, vandalism, or security incidents. Common reasons for recording failures include:
- Full or damaged hard drives
- Power interruptions
- Incorrect recording schedules
- DVR/NVR software issues
- Motion detection configuration errors
- Network connectivity problems in IP camera systems
Performing regular inspections can help identify problems before they become serious security risks.
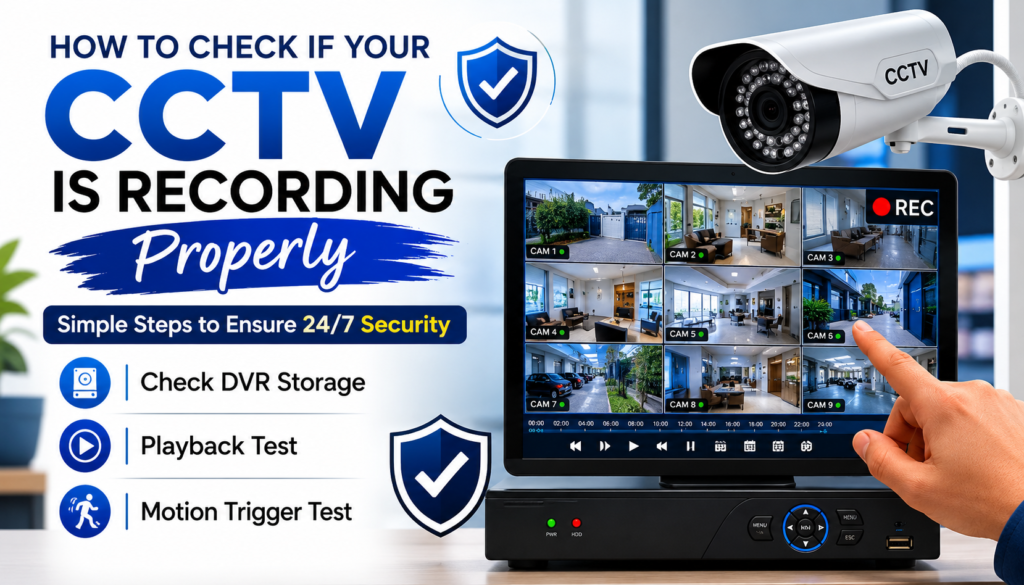
Step 1: Check DVR or NVR Recording Status
The first thing you should do is verify whether your DVR (Digital Video Recorder) or NVR (Network Video Recorder) indicates active recording.
How to Check
- Connect a monitor to your DVR/NVR.
- Open the live camera view.
- Look for recording indicators such as:
- Red dots
- REC icons
- Recording symbols on camera channels
- Access the system status menu.
Most CCTV systems display a recording icon beside each camera channel when recording is active.
What to Look For
- All cameras should show recording status.
- No error messages should appear.
- The recorder should show adequate storage space.
If one or more cameras are not recording, investigate camera settings and connections immediately.
Step 2: Check DVR Storage and Hard Drive Health
Storage issues are among the most common reasons CCTV systems stop recording.
Access Storage Settings
Navigate to:
Main Menu → Storage → HDD Management
Depending on your DVR brand, menu names may vary slightly.
Verify These Details
Hard Drive Status
Ensure the hard drive status displays:
- Normal
- Healthy
- Active
Avoid statuses such as:
- Not Detected
- Error
- Abnormal
- Offline
Available Storage Space
Check:
- Total hard drive capacity
- Used storage
- Remaining storage
Many systems automatically overwrite old footage when storage becomes full. However, if overwrite settings are disabled, recording may stop once the drive reaches capacity.
Check Hard Drive Health
Listen for unusual clicking sounds from the recorder. Frequent clicking may indicate hard drive failure and require replacement.
Understanding storage requirements can also help estimate your cctv camera cost in jaipur when planning upgrades or adding additional cameras.
Step 3: Perform a Playback Test
One of the easiest ways to confirm your CCTV is recording properly is by reviewing saved footage.
Playback Verification Process
- Open the DVR/NVR menu.
- Select Playback.
- Choose a camera channel.
- Select footage from the past hour.
- Play the recording.
What to Verify
- Video plays smoothly.
- Recording timestamps are accurate.
- Footage covers the selected time period.
- No missing video segments exist.
Repeat the process for multiple cameras.
Check Older Footage
Also review recordings from:
- Yesterday
- Last week
- Earlier dates
This confirms that long-term storage and recording retention are functioning correctly.
Step 4: Verify Recording Schedule Settings
Many recording failures occur because cameras are configured to record only during specific times.
Check Recording Schedule
Navigate to:
Main Menu → Recording → Schedule
Review settings for each camera.
Common Recording Modes
Continuous Recording
Records 24/7 regardless of activity.
Best for:
- Shops
- Warehouses
- Offices
- Residential properties
Motion Detection Recording
Records only when motion is detected.
Best for:
- Storage optimization
- Lower storage consumption
Scheduled Recording
Records during predefined hours.
Best for:
- Business operating hours
- Temporary monitoring requirements
Ensure the schedule matches your security needs.
Step 5: Test Motion Detection Recording
If your CCTV system uses motion-based recording, testing motion triggers is essential.
Motion Trigger Test
- Stand in front of the camera.
- Walk across its field of view.
- Wait a few minutes.
- Open playback mode.
- Review footage during the test period.
Confirm the Following
- Motion event was detected.
- Recording started correctly.
- Video quality is clear.
- Trigger timing is accurate.
Adjust Motion Sensitivity
If motion is not detected:
- Open Motion Detection Settings.
- Increase sensitivity levels.
- Expand detection zones.
- Save settings.
- Test again.
Proper motion settings reduce missed events while minimizing false alarms.
Step 6: Check Camera Timestamps
Incorrect date and time settings can create confusion when reviewing incidents.
Verify:
- Current date
- Current time
- Time zone settings
If timestamps are incorrect:
- Open System Settings.
- Update time manually or enable network synchronization.
- Save changes.
Accurate timestamps are crucial when providing footage to authorities or insurance companies.
Step 7: Monitor Remote Viewing Recordings
Many users rely on mobile apps for CCTV monitoring.
Test Through Mobile App
- Open your CCTV application.
- Select Playback.
- Choose a camera.
- Review recent recordings.
Confirm that:
- Recorded footage is accessible remotely.
- Cameras are syncing correctly.
- Recording updates appear regularly.
If playback works locally but not remotely, the issue may be related to internet connectivity or app configuration.
Step 8: Inspect Camera Image Quality
Poor image quality can make recorded footage unusable even when recording is functioning properly.
Check For
- Blurry images
- Dark footage
- Glare from lights
- Dirty camera lenses
- Obstructed camera views
Clean camera lenses periodically and adjust camera positioning when necessary.
Businesses and homeowners investing in a professional cctv camera in jaipur installation should schedule routine maintenance checks to maintain optimal performance.
Step 9: Review Event Logs
Most modern DVRs and NVRs maintain activity logs.
Access Event Logs
Navigate to:
System → Logs
Look for:
- Hard drive errors
- Recording failures
- Power interruptions
- User login activity
- Camera disconnections
Logs can help identify recurring issues before they cause complete recording failure.
When Should You Call a CCTV Professional?
Contact a CCTV technician if:
- The hard drive is not detected.
- Cameras frequently disconnect.
- Playback footage is missing.
- Recording stops randomly.
- Motion detection fails repeatedly.
- DVR/NVR software crashes frequently.
Professional inspections can quickly diagnose hardware or software problems and restore reliable recording performance.
Conclusion
Checking whether your CCTV is recording properly should be part of your regular security maintenance routine. Start by verifying DVR status, checking storage health, performing playback tests, and testing motion-trigger recording. These simple steps can help ensure your system captures every important event without interruption.
Whether you use CCTV for home security or business surveillance, regular monitoring of recording performance helps protect your investment and ensures your security system remains dependable. If you are planning a new installation or evaluating the cctv camera cost in jaipur, choosing a reliable system with professional maintenance support can significantly improve long-term performance and security.